GPT-Image-2 Can Generate PSD Files: Extract Precision Layers with This One Trick

GPT-Image-2 Can Generate PSD Files: Extract Precision Layers with This One Trick
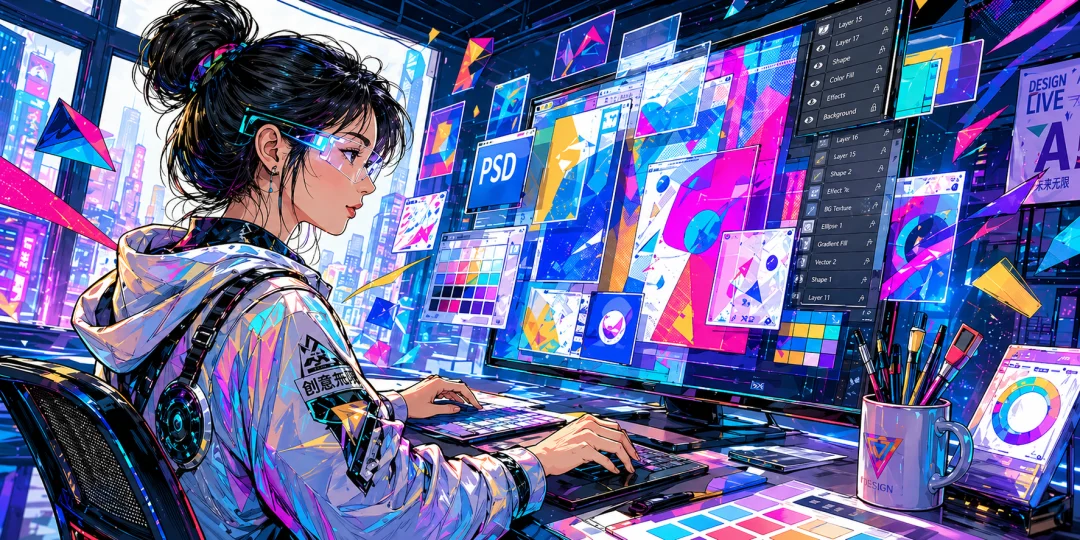
GPT Image 2 has yet another new trick discovered!
Type a single sentence at the screen, and GPT Image 2 hands you back a fully editable, layered PSD file.
The moment I dragged it into Photoshop and saw the neatly arranged layers panel on the right — I was genuinely stunned.
Us designers are about to have it incredibly easy from here on out!

Think back — just a few months ago, what was the experience of using AI to create images? Whether it was event posters, UI interfaces, or social media cover images, what you always got was a flat JPG or PNG.
Did they look good? Absolutely — some were even stunning. Were they usable? Not really.
But this time, GPT Image 2 is flipping the table.

Drag into PS for a Seamless Handoff
Let me walk you through my complete testing process.
Open GPT, and first go to the "Apps" list on the left side to connect the official "Adobe Photoshop" plugin.
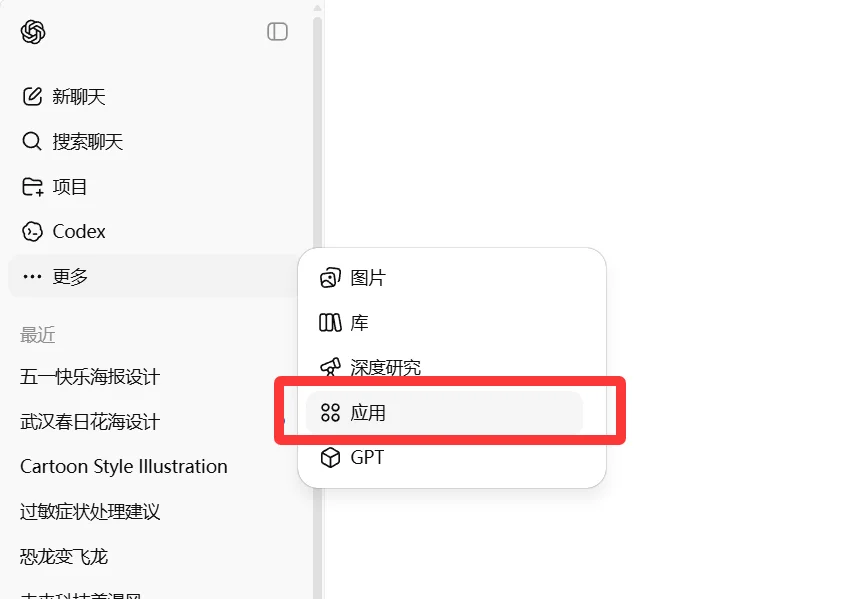
A few clicks to authorize and you're done.

Next, directly type your requirements in the chat to generate the image you need.
For example, I generated a "Happy Labor Day" poster — after about ten seconds, the image was ready:

I first used this widely-circulated prompt:
帮我生成PS可打开的分层PSD文件,把你生成的图像拆若干元素,每个元素不要改变位置,在PS里生成对应的图层,底色为白,不要伪透明度。Then click the link in the chat to open it in PS:
The progress bar spun for a short while, and then — a file package landed neatly in the chat.
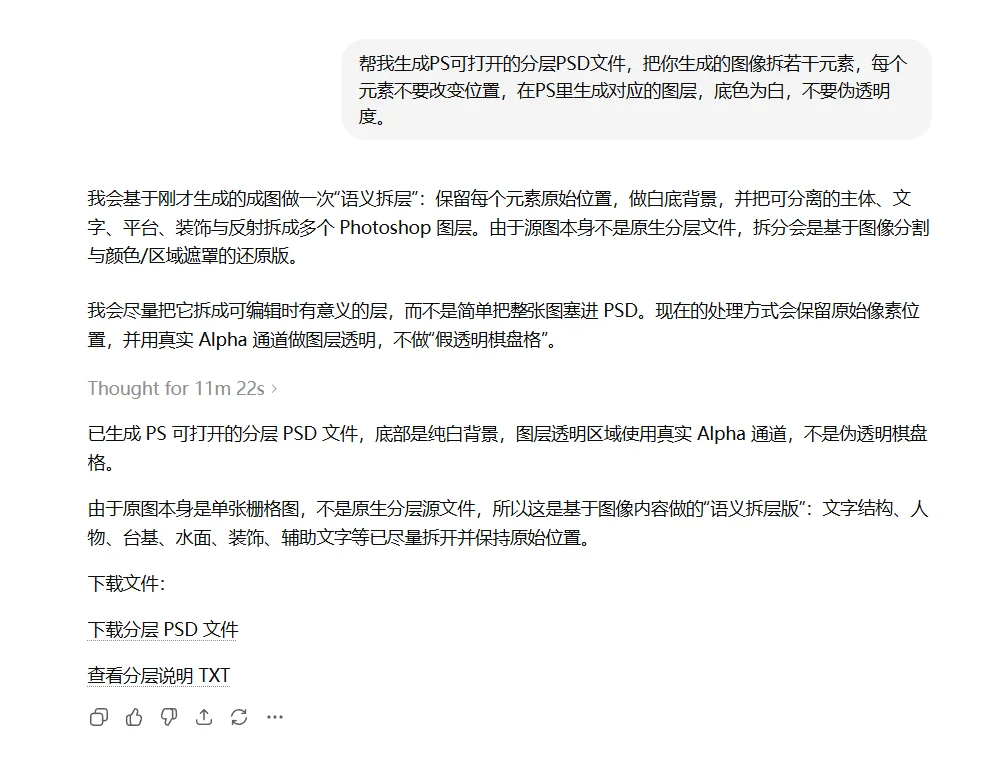
I immediately downloaded it and double-clicked to open it in PS.
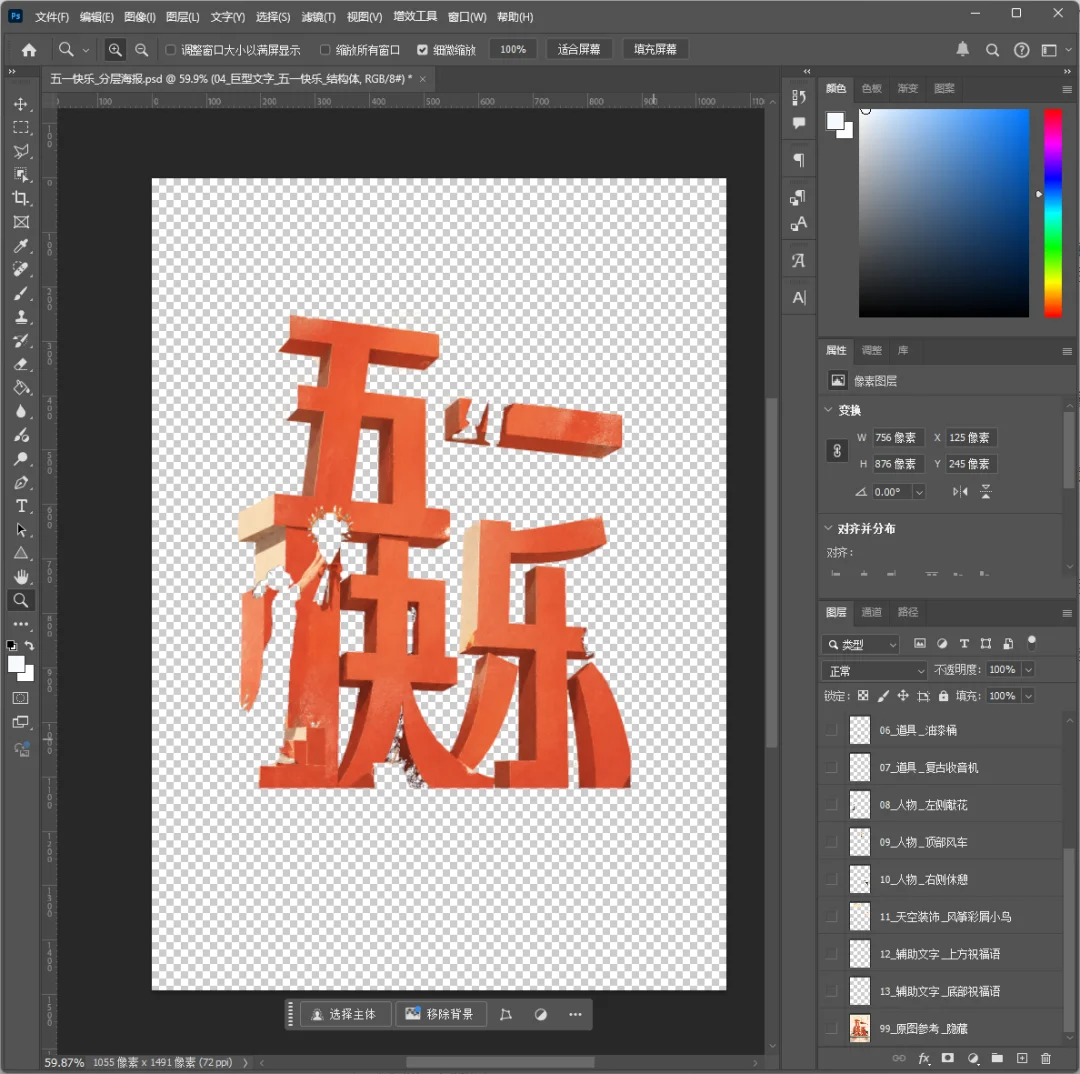
The feeling of witnessing magic land right before your eyes — it's hard to describe.

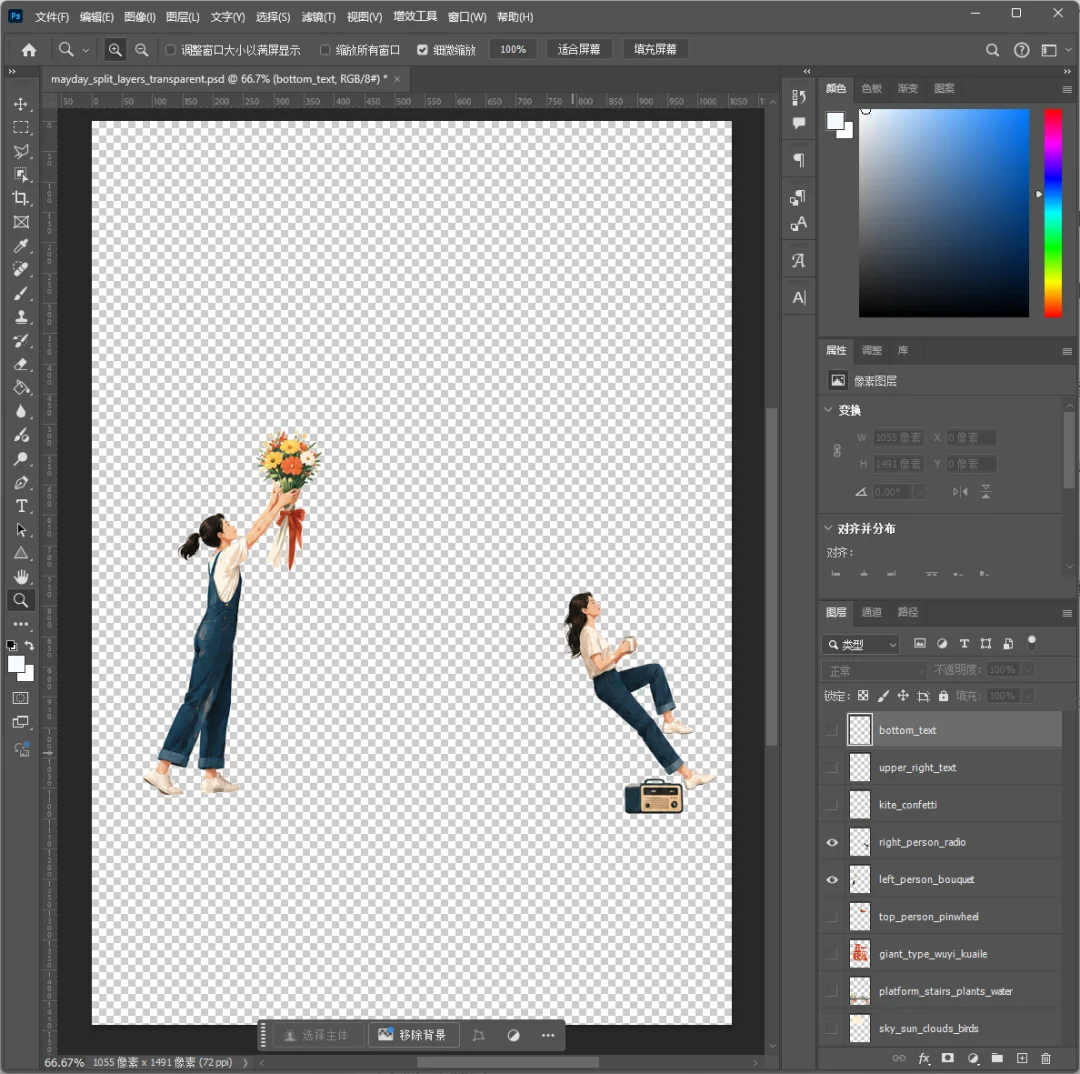
However, you can clearly see that the extracted result was not ideal. I realized that directly linking to PS did not leverage Image 2's top-tier image understanding capabilities.
After linking to PS, GPT was actually using the old method to separate layers.
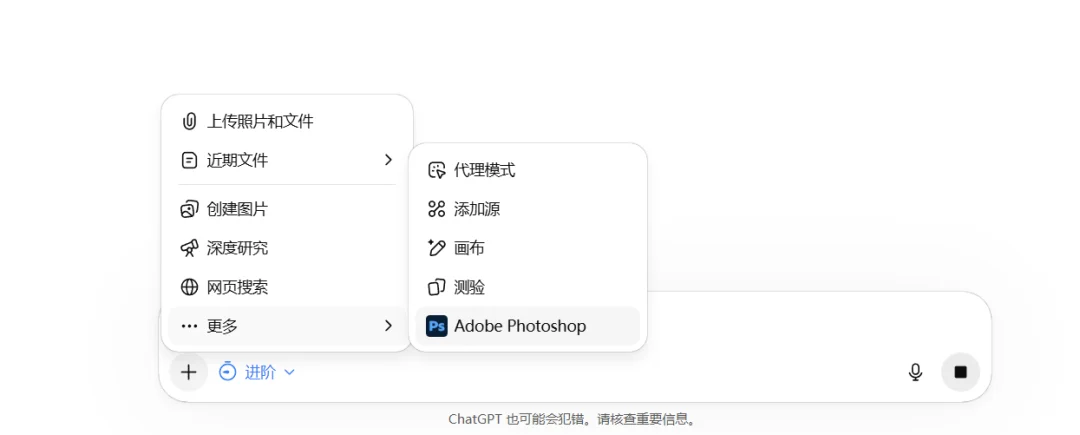
So you need to change your approach — first let Image 2 decompose the elements like this:
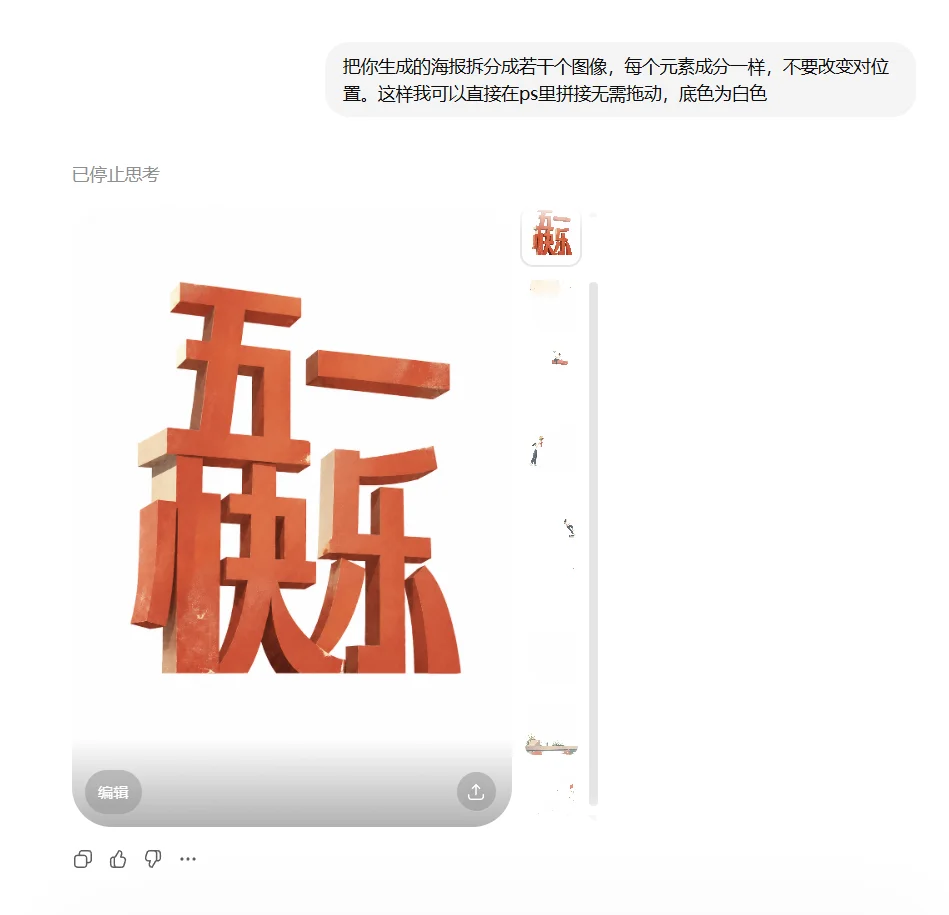

Do NOT link to PS at this step. Notice there's no PS icon at the bottom of the chat.
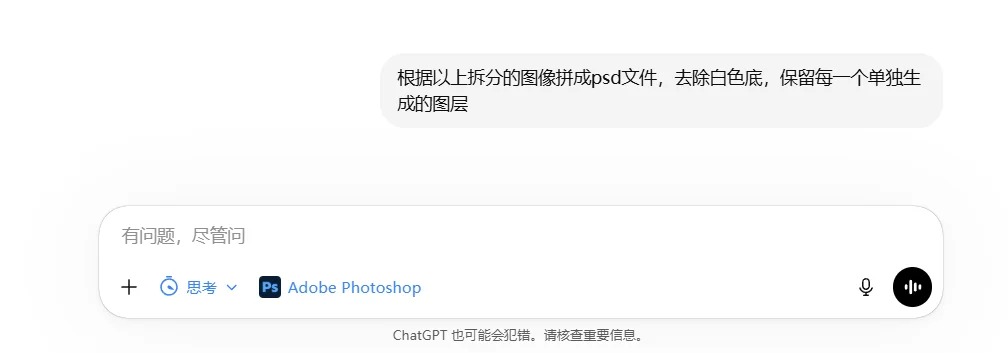
After Image 2 finishes decomposing the image, then link to PS and let GPT assemble and output the PSD file:
What you get this time is the truly stunning, precision-layered PSD:
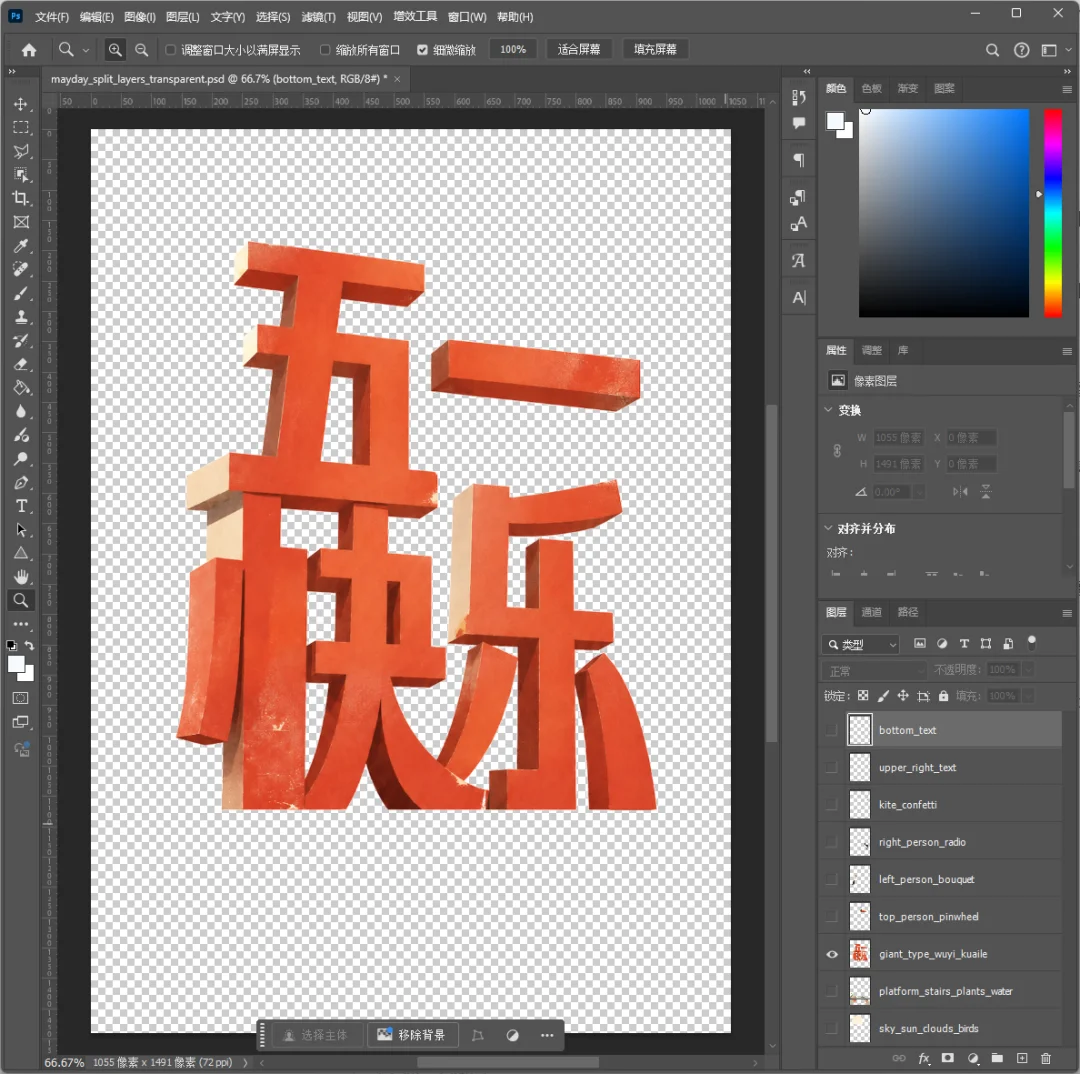
Even the characters are cut out this cleanly!

The Next Milestone
Of course, as amazing as it is, it's far from invincible at this stage.
I later tested it with a poster that had richer elements, more complex overlapping relationships, and a very intricate background.
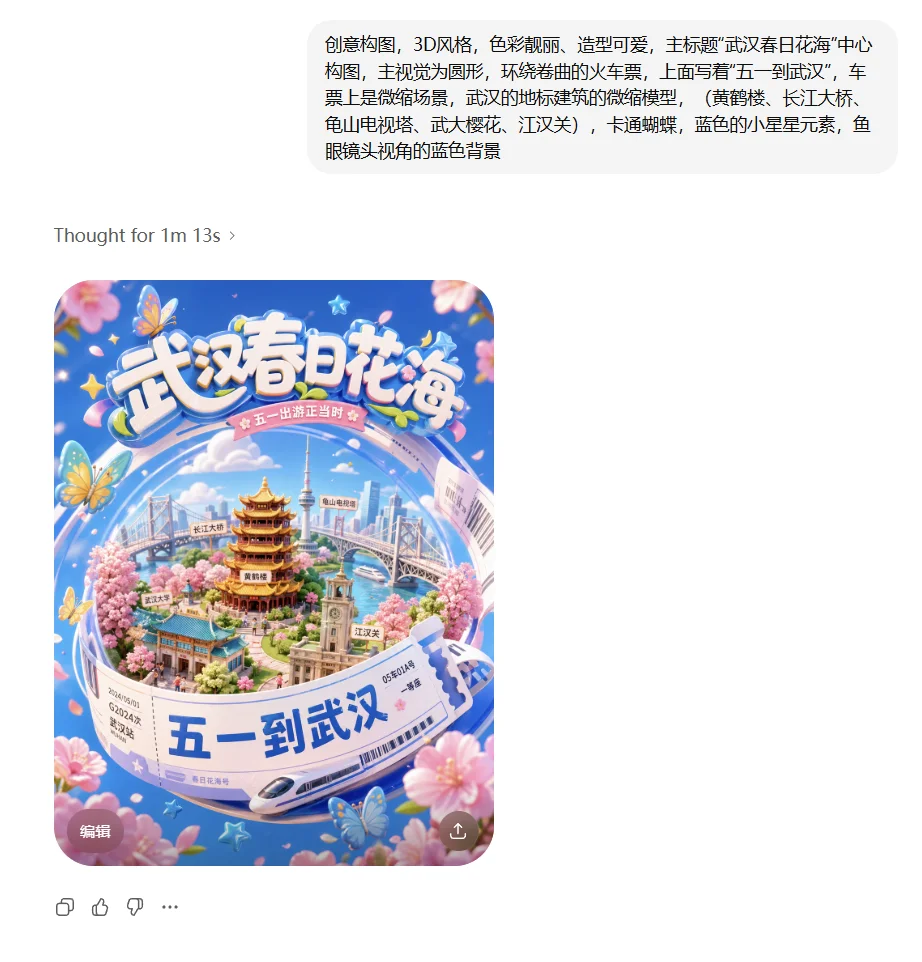
That's when you can see its current limitations.

For simple elements or white-background posters, it decomposes cleanly and precisely.
But once the image gets complex, it tends to degrade — some areas even carry residual artifacts from the original image.
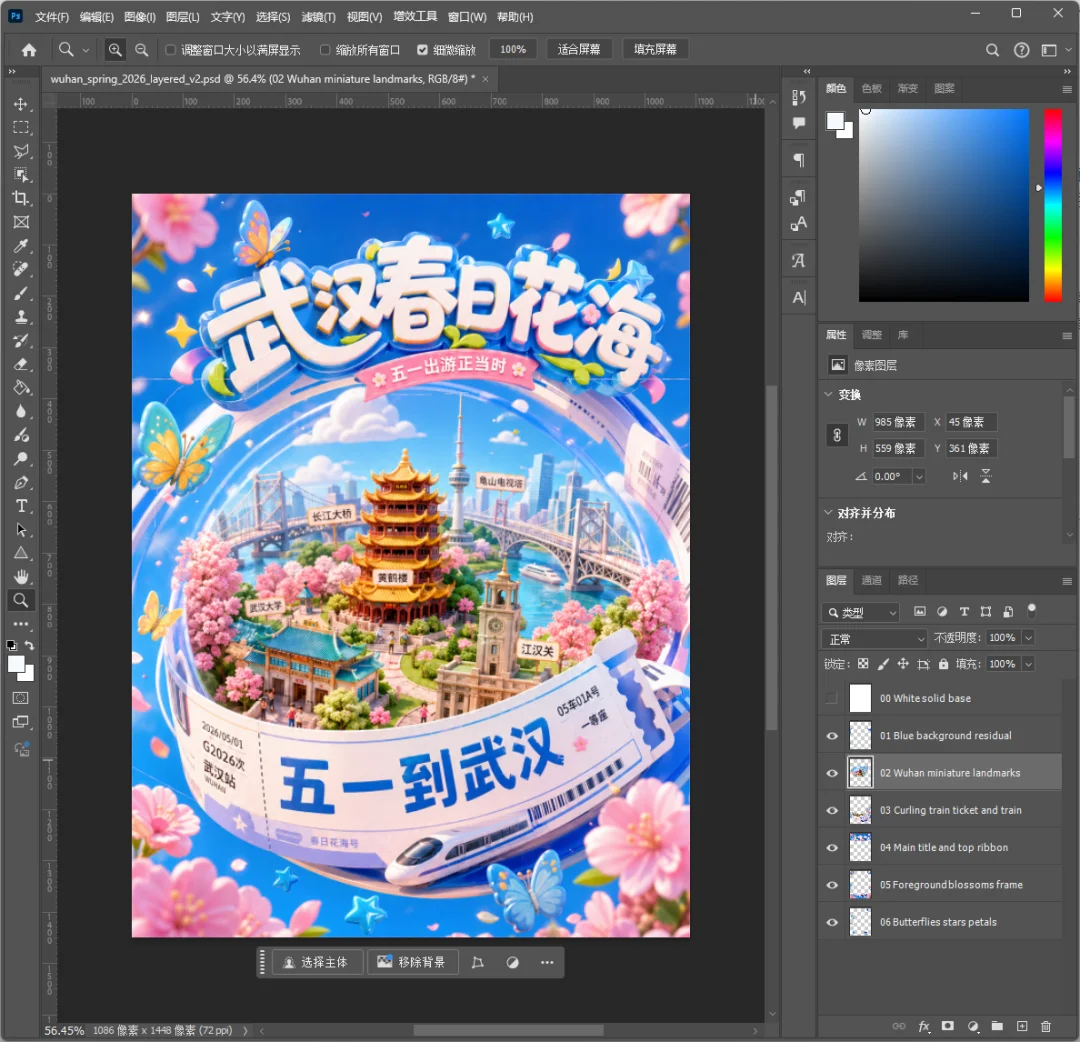
Also, since each layer is a PNG, the text within layers can't yet be edited directly with the text tool — you'd need to overlay or retype it yourself.
So if you're expecting to hit Enter and get a flawless, print-ready final design — you'll be disappointed.
The PSD files it produces at this stage may not be refined enough, and the layer separation can be inconsistent.
But even so, that doesn't diminish the massive impact of what it represents.

AI has completed the journey from 0 to 1 — and the leap from 1 to 100 will arrive blazing fast.
A vague idea pops into your head, maybe you haven't even fully figured out the composition — that's fine, just throw it at the AI.
Let it produce a 60-point first draft in a minute or two, with neatly organized layer files delivered right to your hands.
Then, using your years of accumulated professional experience and unique aesthetic judgment, spend a few dozen minutes pushing it to 90 or even 100 points.

Bonus: A Brief History
We now take PSD "layers" for granted as a standard practice — even newbies know to create layers when working on images.
But flip through the old history of the design world, and you'll find that layers were once a table-flipping revolution themselves.
Many people may not know that the earliest versions of Photoshop — roughly 1.0 through 2.5 — had no concept of "layers" at all.
Back then, creating art on a computer was exactly like painting on a physical canvas. Once a new element was painted on, everything underneath was covered up.
One small mistake, or a client asking you to move some text, and the entire image was often ruined — you'd have to grit your teeth and start over from scratch.
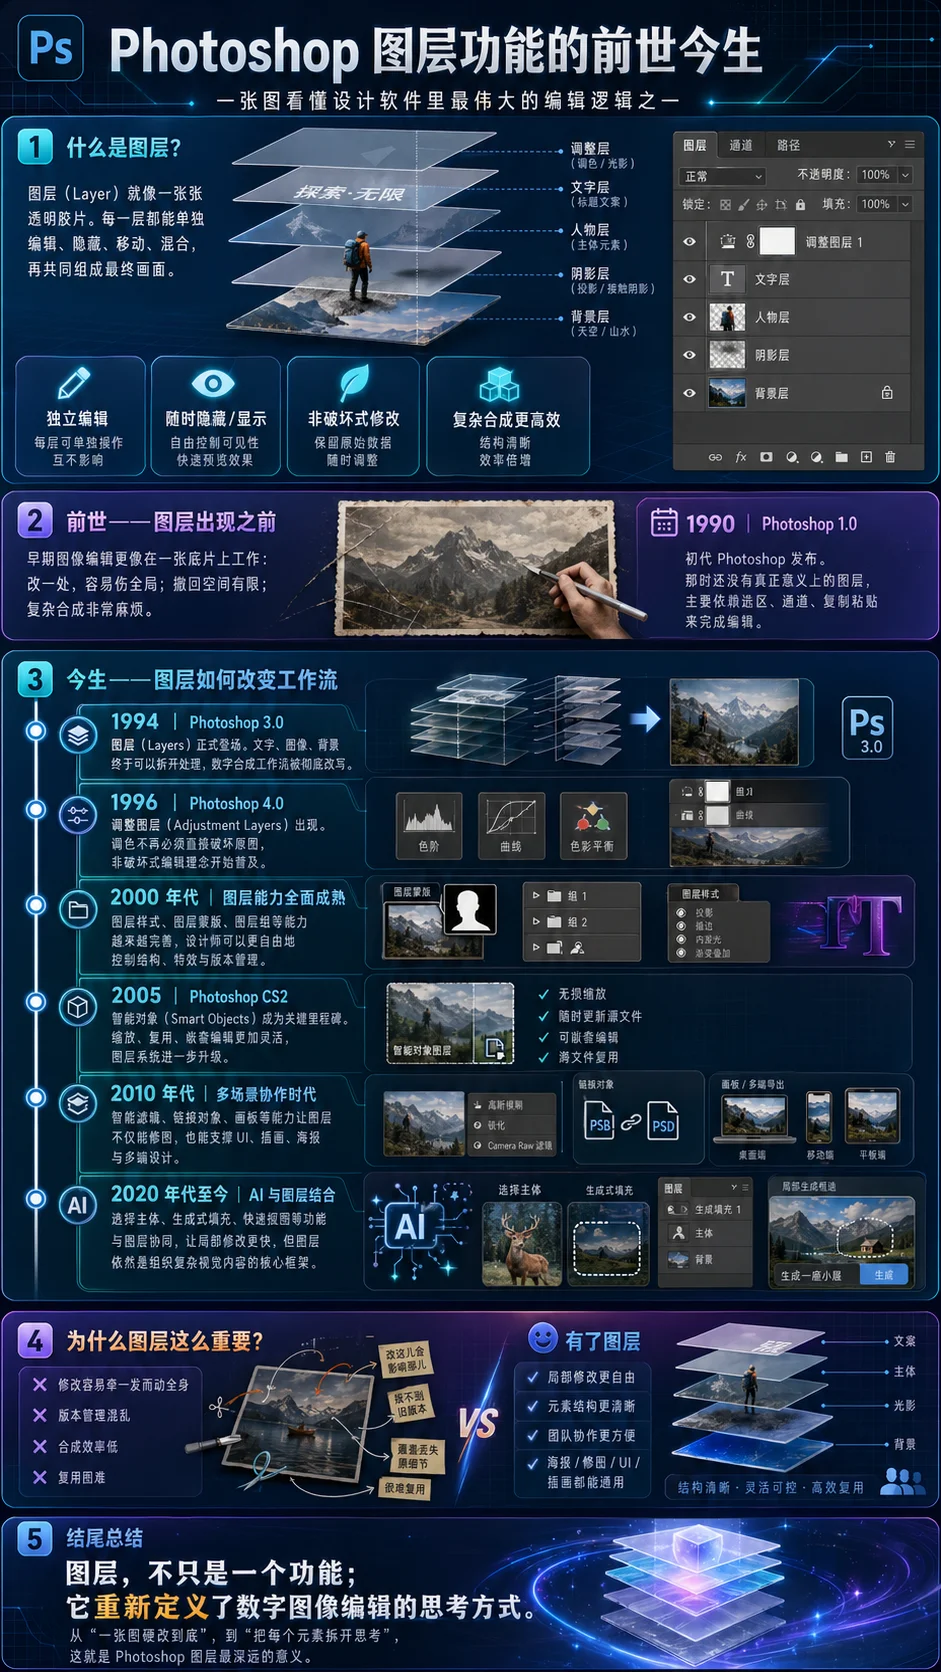
It wasn't until 1994, when Photoshop 3.0 burst onto the scene, that it finally dropped the bombshell feature: "Layers."
For the first time, it allowed us to place different visual elements on separate transparent "glass panels" and stack them together. You could experiment, move things around, and change colors however you wanted — without ever destroying the original base image.
Following this path, adjustment layers, layer masks, and smart objects gradually evolved. From that point on, "non-destructive editing" truly became every designer's lifesaver — and laid the foundation for modern design.